Here is a project that looks forward to the hope of spring and gives you a chance to creatively recycle some of those Amazon boxes. You will use layers of cardboard to create relief panels that will become part of the mold for this container resulting in a wonderfully textured piece to display favorite plantings.
WHAT YOU NEED:
Medium shipping box similar to the type Amazon uses
Additional stiff cardboard pieces from more boxes
Duct tape
Box cutter/Xacto knife
Hot glue gun and glue sticks
Vegetable oil and brush
Disposable gloves
Batch of fresh hypertufa
(Here’s my recipe: https://fromthesummersgarden.blogspot.com/p/normal-0-false-false-false-en-us-ja-x_10.html
Click "YOU, ME & HYPERTUFA above
Plastic mixing bowl
Cement trowel and brick
Section of rebar rod
WHAT YOU DO:
1. Select a box sized close to what you’d like for your next planting container. It is more manageable to shoot for something in the small to medium range.
2. Fold the top flaps of the box out against the side of the box and tape all the way around with duct tape. Cover the bottom seams of the box with tape as well.
3. Cut four undersized panels of stiff cardboard from additional cardboard boxes to serve as the relief panel bases.

4. Cut simple rectangular shapes from cardboard and use to create layered relief patterns on each of the four panels. Use at least three layers to ensure sufficient depth for the designs. Glue the cardboard pieces into place using hot glue. Paint the four relief panels with any type of latex paint to seal and harden the cardboard.

5. Glue the four panels into your taped box mold and give the entire inside a coating of vegetable oil.


6. Put on the disposable gloves and mix the hypertufa. Sprinkle a one-inch layer of the tufa into the bottom of the mold and tamp with a brick to pack it firmly into the mold.

7. Pack the textured sides of the mold one handful of tufa at a time pressing it firmly into the design panels. When you reach the top of the mold form a smooth rounded edge. Press the corner of the brick into each corner for nice straight edges and poke drainage holes in the bottom with the piece of rebar.

Allow to set and cure for five days.)

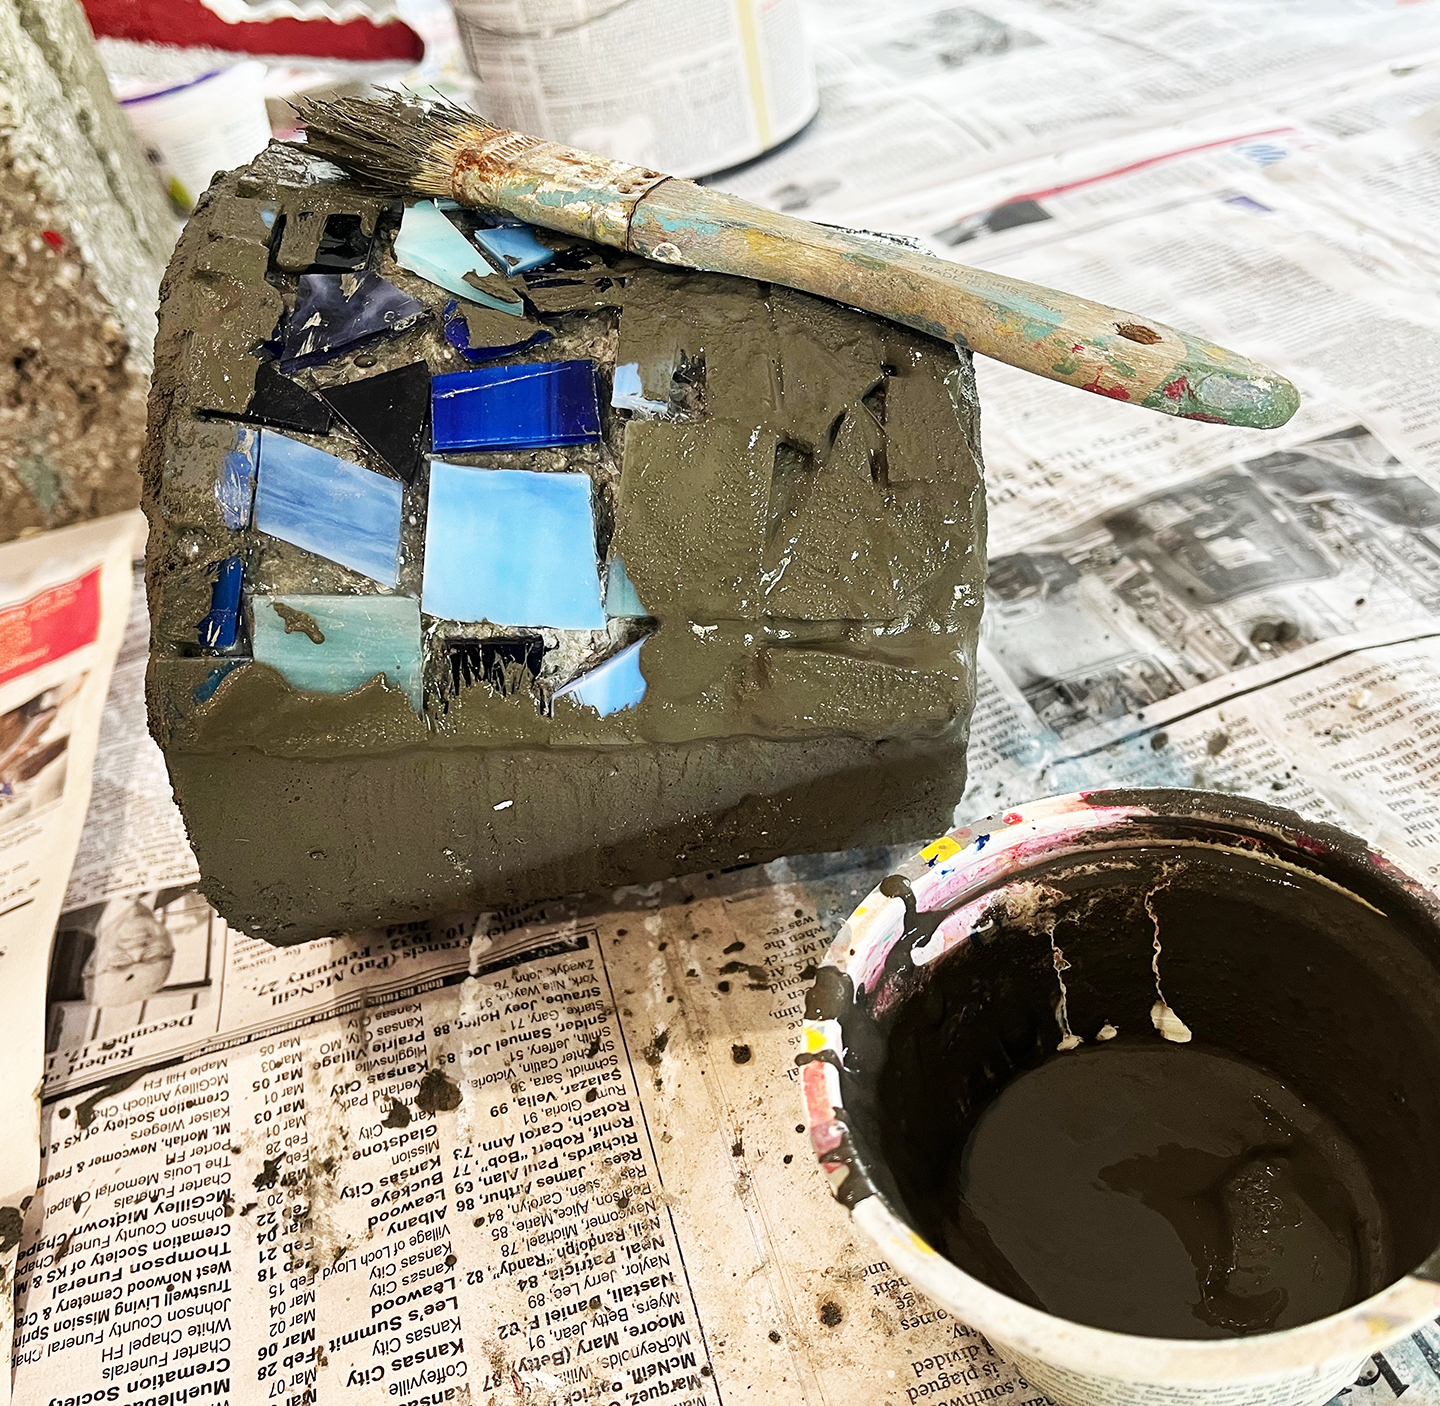
You can highlight the relief with a dry brush coating of paint or even dark mud.