Layered Concrete Planter

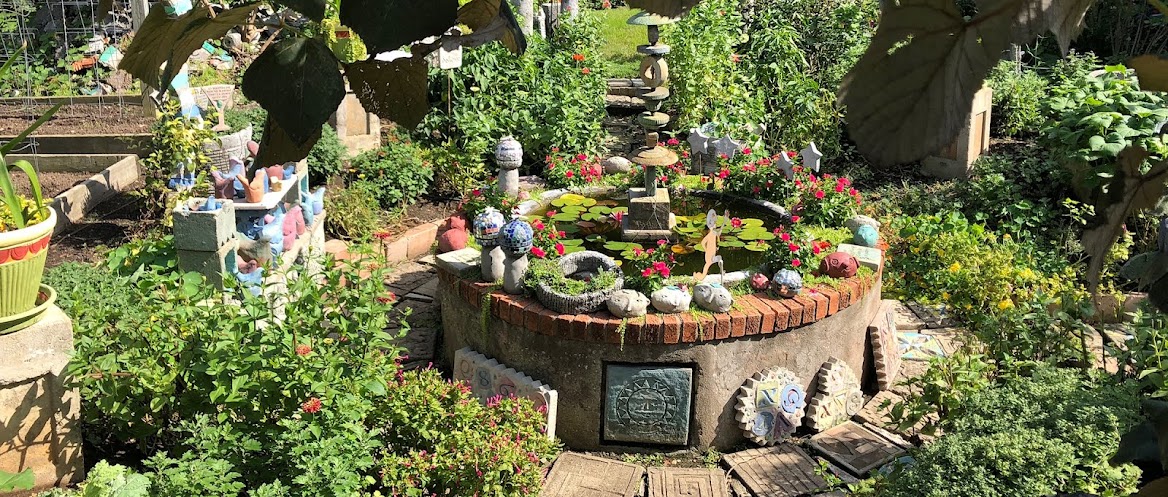
Here’s a cool planting container you can put to use right away this spring. It is intriguing because of the layering technique as well as the use of recycled concrete pieces. If you do not have pieces of old concrete to recycle, no worries, you just won’t use them. There is little you can do to screw up on this project and it offers a surprising “reveal” when you unmold it.
For this planter, I used recycled concrete pieces, pea gravel, and blue marbles. You can change out any of these components with a range of different sized gravels, colored aquarium gravel, marbles or glass pieces, even sand. The important ingredient that cannot be substituted, is the rapid set concrete mix that holds everything together.
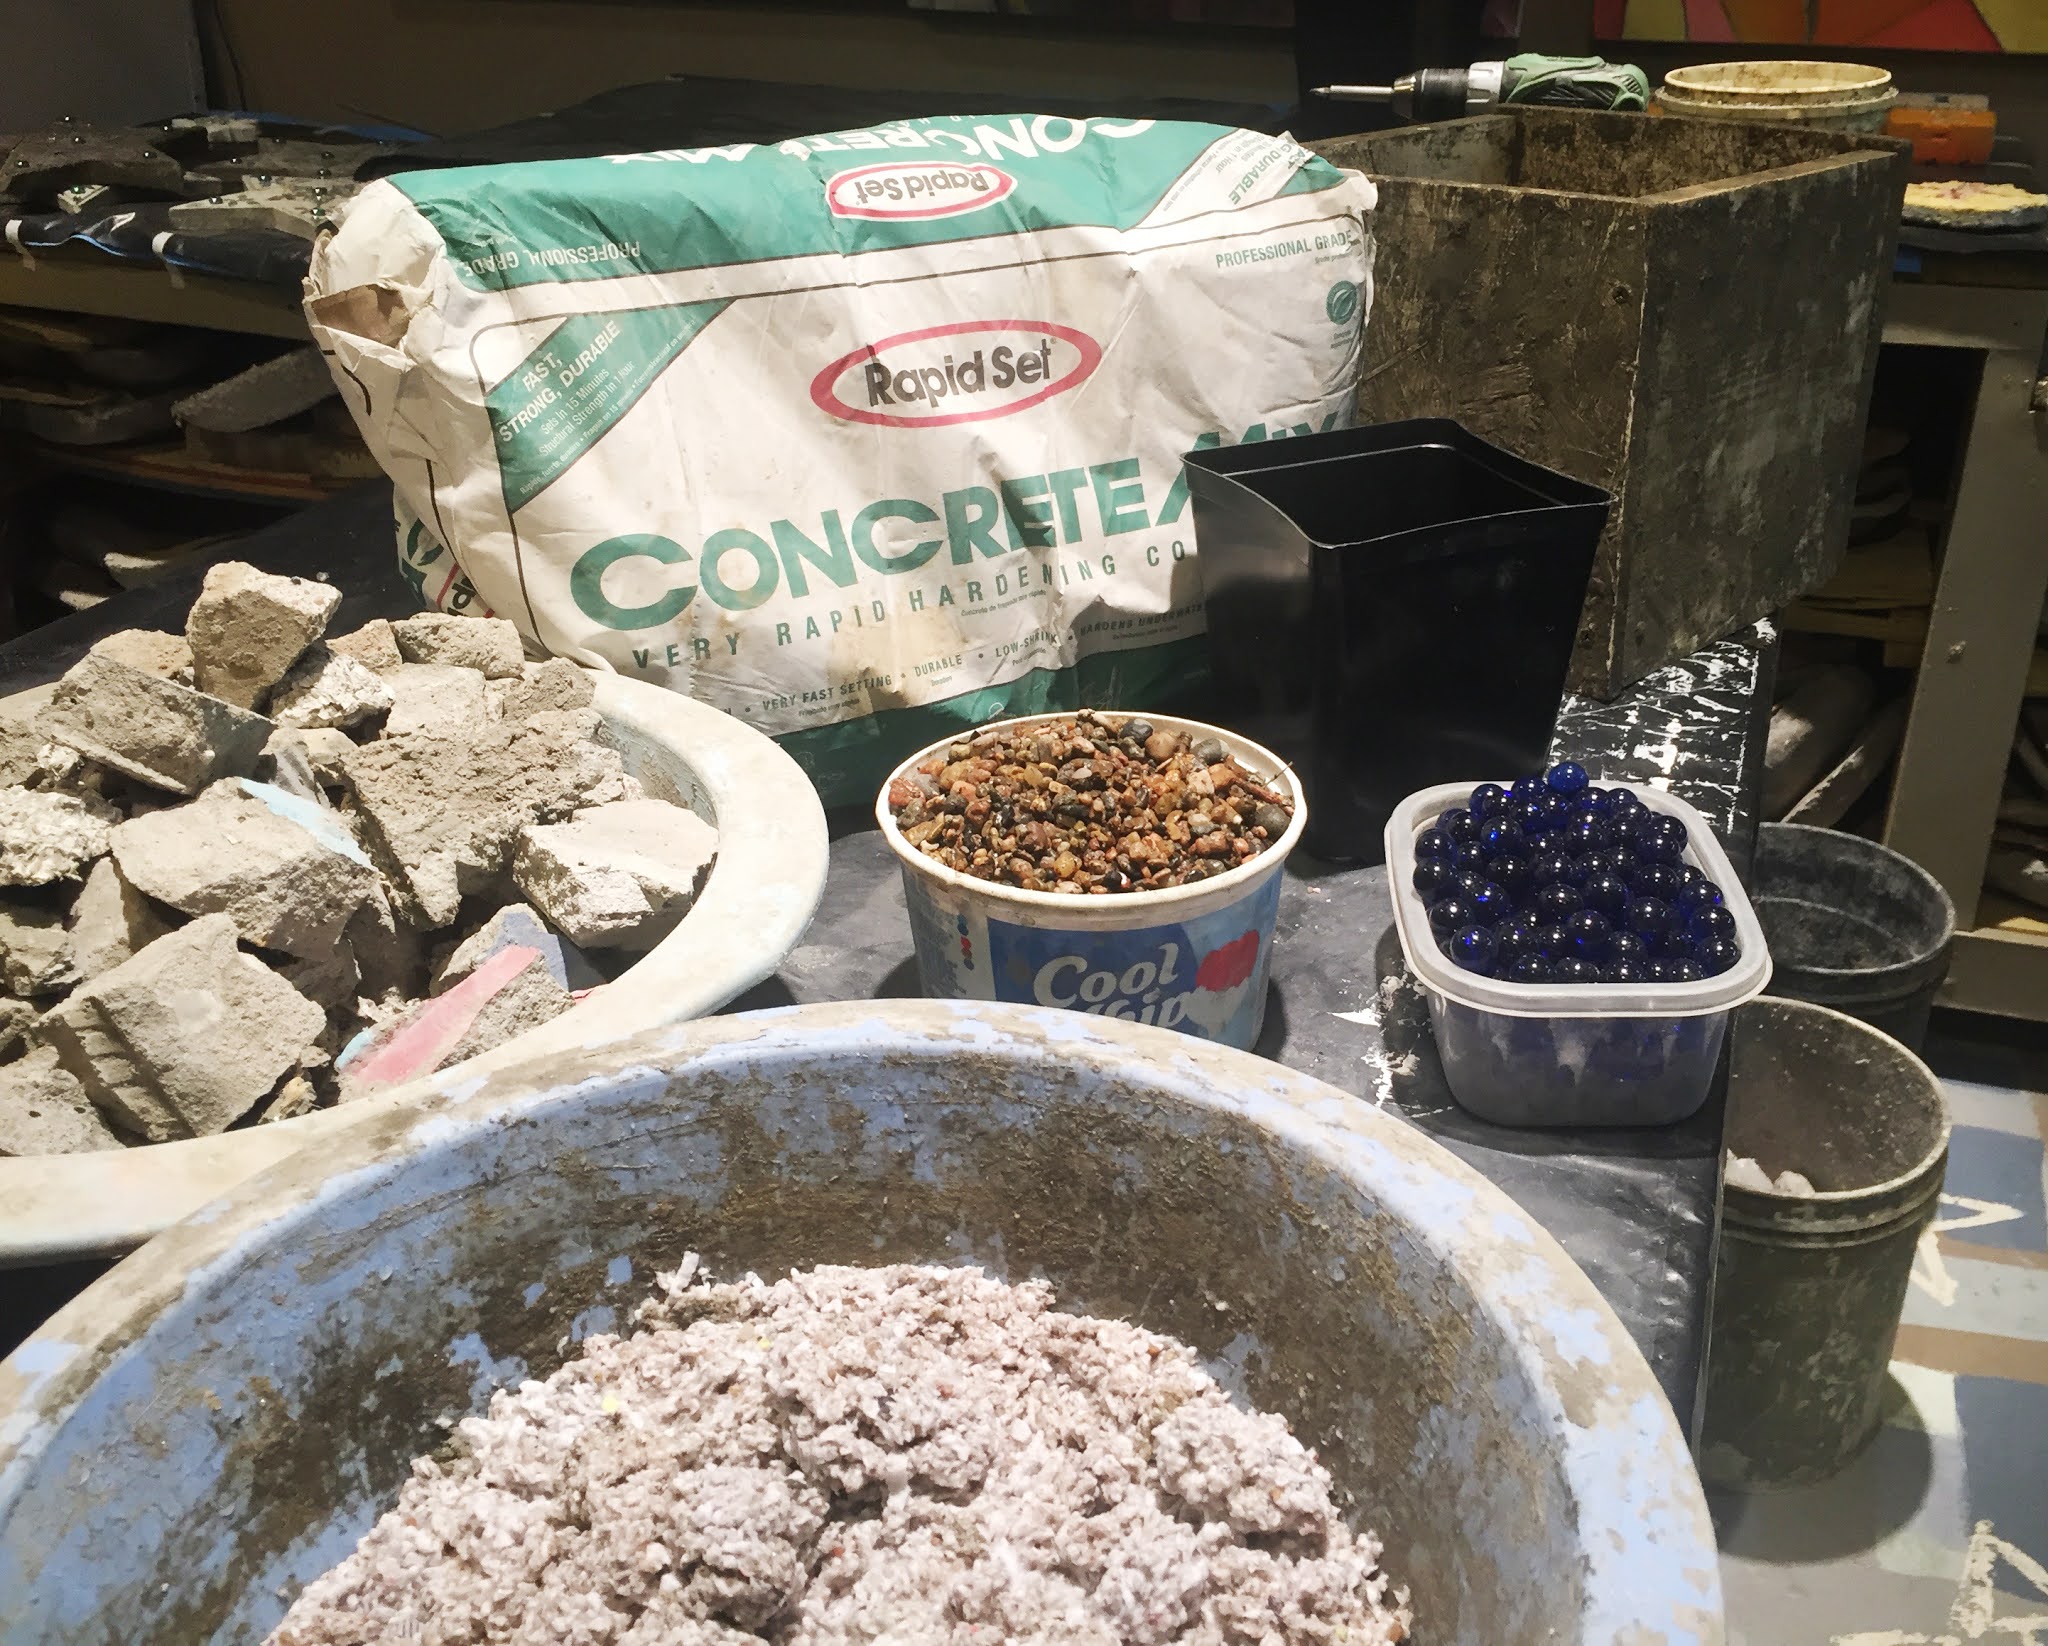
-1 bag Rapid Set Concrete Mix from the hardware store or home improvement center
-Bucket of recycled concrete pieces. Put down an old board on a cement surface and
wack cement chunks into gravel-like bits with a
hammer- great job for kids!
-Bag of pea gravel
-Colored glass pieces or marbles
-Large round or square box to serve as your mold. Large planting containers with
smooth sides work well for this.
-Smaller plastic nursery pot to create the space for dirt on the inside. Try to find one
that will give you the most space for soil and still
allow for the layering technique within your mold.
-Oil and brush to use as mold release
-Sheet of plastic to protect work surface
-Mud gloves to protect your hands
-Plastic mixing pail and trowel
What You Do
1. Oil the inside of the outer mold well so the finished product will release easily.
2. Double check the inside plastic container to make sure it fits and is also large enough to provide enough space for soil for planting later. Punch a hold in the bottom for drainage. Remember, this pot remains in the finished planter.
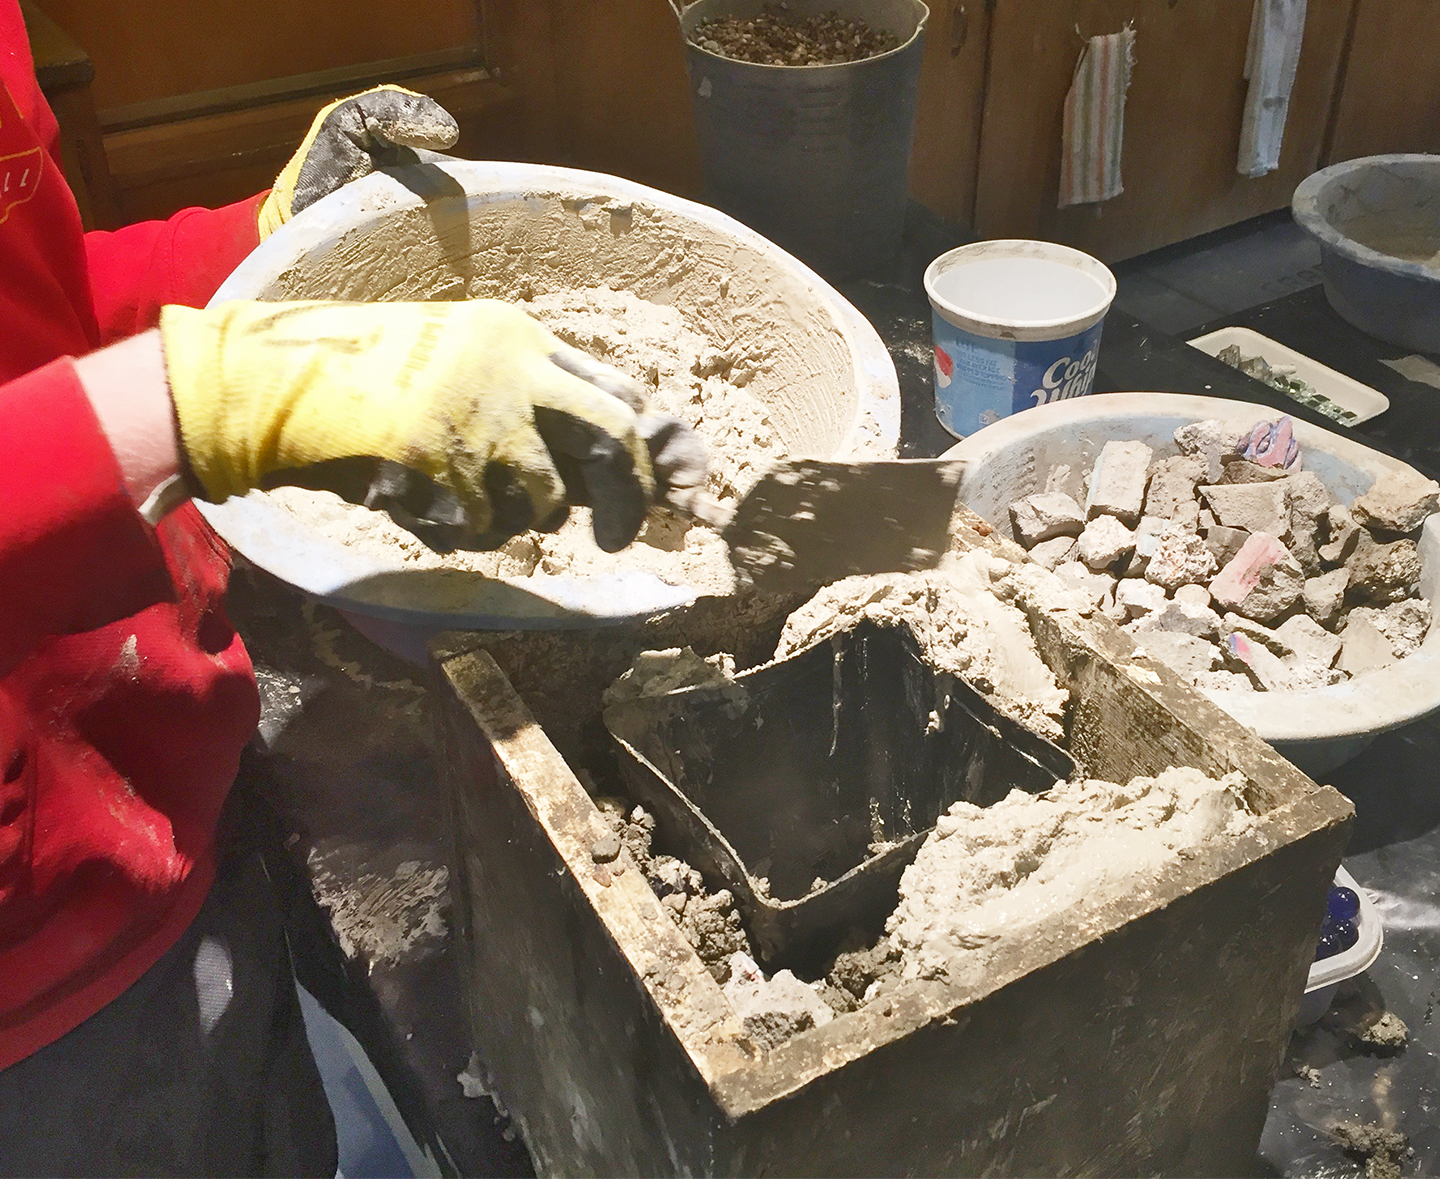
3. Open the bag of Rapid Mix concrete mix and measure a workable volume into the plastic mixing pail. I suggest about 8 cups to start. It is best to mix several small portions rather than one large batch. This is because it sets so much faster than regular concrete. Slowly add water to the dry mix in the pail and keep mixing, adding small amounts of water as you go, until the mix is similar to runny yogurt.
4. Pour the mixed concrete into your mold to at least a 1” thickness and shake to level out. Center the inside plastic pot inside the mold on top of the concrete. You want this inner pot to be level with the top edges of the mold. If you find it is too deep in the mold, remove it and toss in rubble or large gravel until you get the inner pot level with the top edge of the outer mold. Then, use the trowel to scoop in the remaining first batch of mix into the mold around the inner pot and shake to settle the concrete in the mold.
Before going further, use a screw driver, a large nail or a stick to bore a drainage hole through the hold you put into the inner container and through the concrete to the bottom of the mold.
5. Now, drop pieces of rubble or large gravel in varying amounts around the mold,
sprinkle in some pea gravel and a few marbles on top of this.

6. Mix up another 8 cups of Rapid Mix and scoop in dollops unevenly into the outer mold, sometime covering the gravel and leaving other parts uncovered. In this project you do not want to be uniform-enjoy the freedom to be erratic, heavier here, lighter there!
7. Repeat the process of dropping in uneven amounts of rubble, gravel and marbles, covering portion once again with a layer of securing Rapid Mix.
8. When you reach the top, you will fill in the entire space with the Rapid mix smoothing it flat between the outer edge of the mold and the inner pot using the trowel.
9. Insert pieces of gravel into the smooth surface. It is especially nice to showcase the colorful marbles in this top rim as well.
10. Allow setting and curing overnight.
11. Remove the outer mold. Do not be concerned when you see areas of your pot loose and fall away. Now is the time to let everything that is not affixed by the Rapid Mix to the container fall off. Shake carefully to get rid of all the loose material. Sweep this up and save for your nest layered pot. Use the trowel to smooth rough edges and remove anything you don’t like. Do this gently or so as not to remove more than you’d prefer.

12. You can enhance areas of your layered pot with painted lines that simulate veining in rock. Be sure the paint you use is made for the exterior. Let dry and you are ready to plant!
